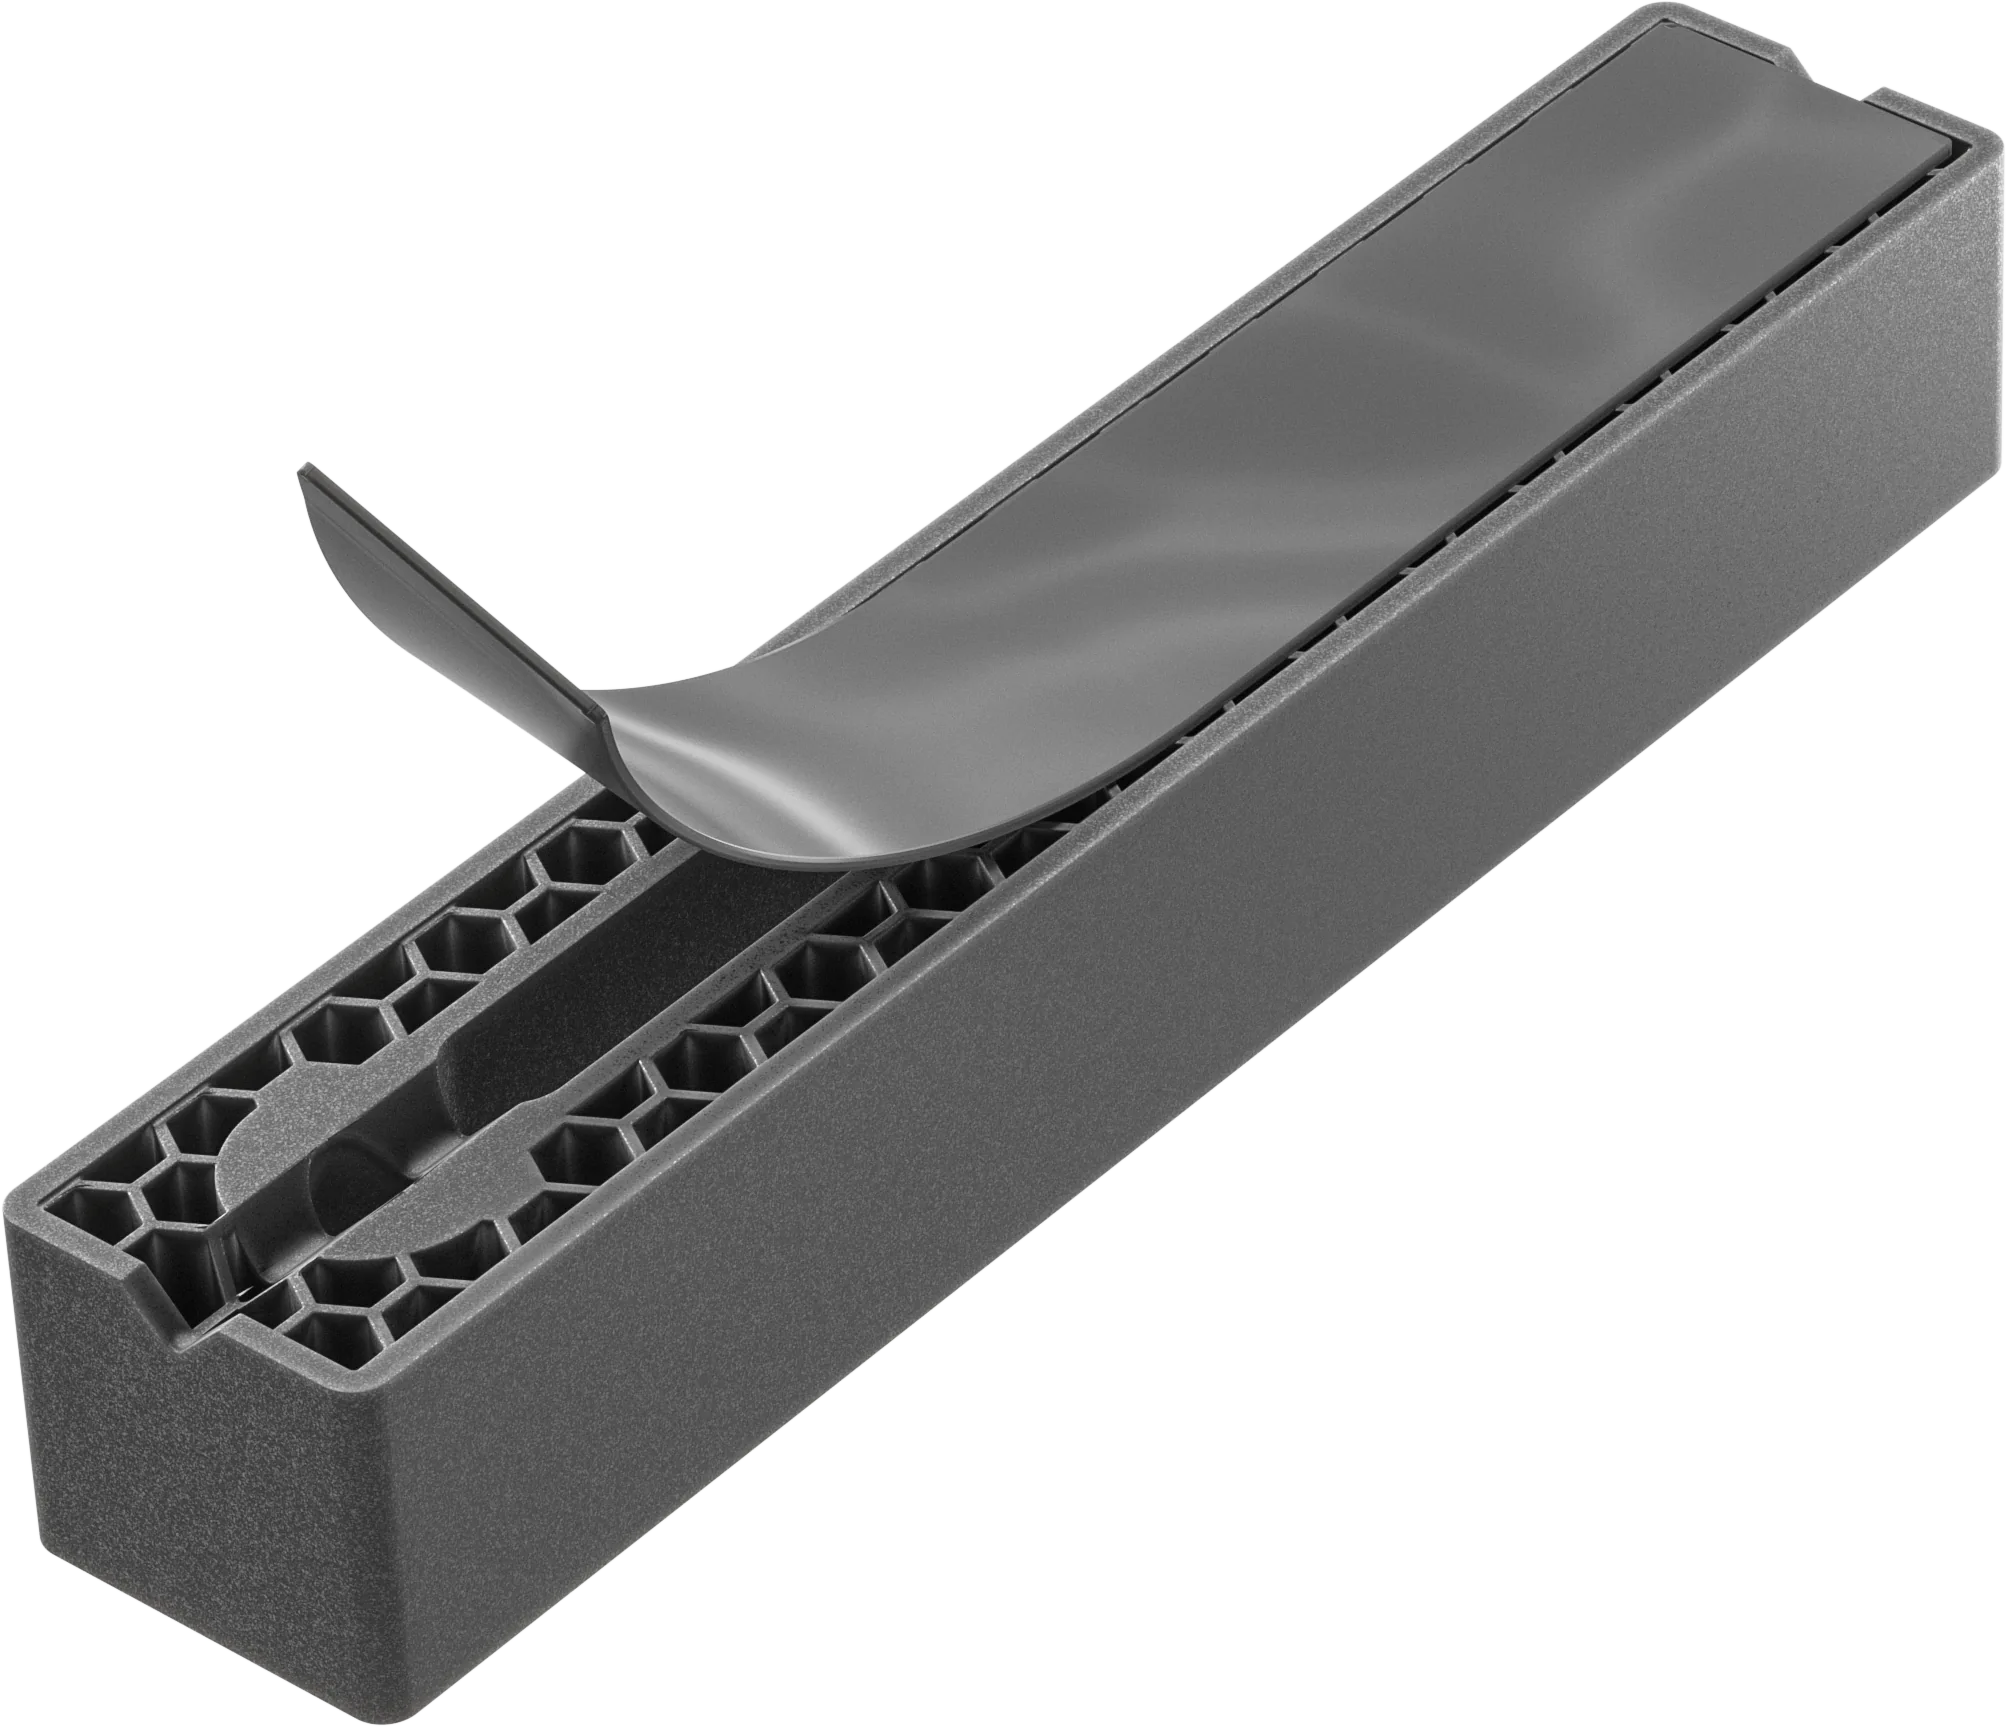
FOR BUILDERS / PB30 CAVITY SPACERS
Less handling.
A clearer cavity detail.
Create 30 mm separation at specified roof and wall fixing points with short, ready-to-position PB30 spacers and integrated butyl backing.
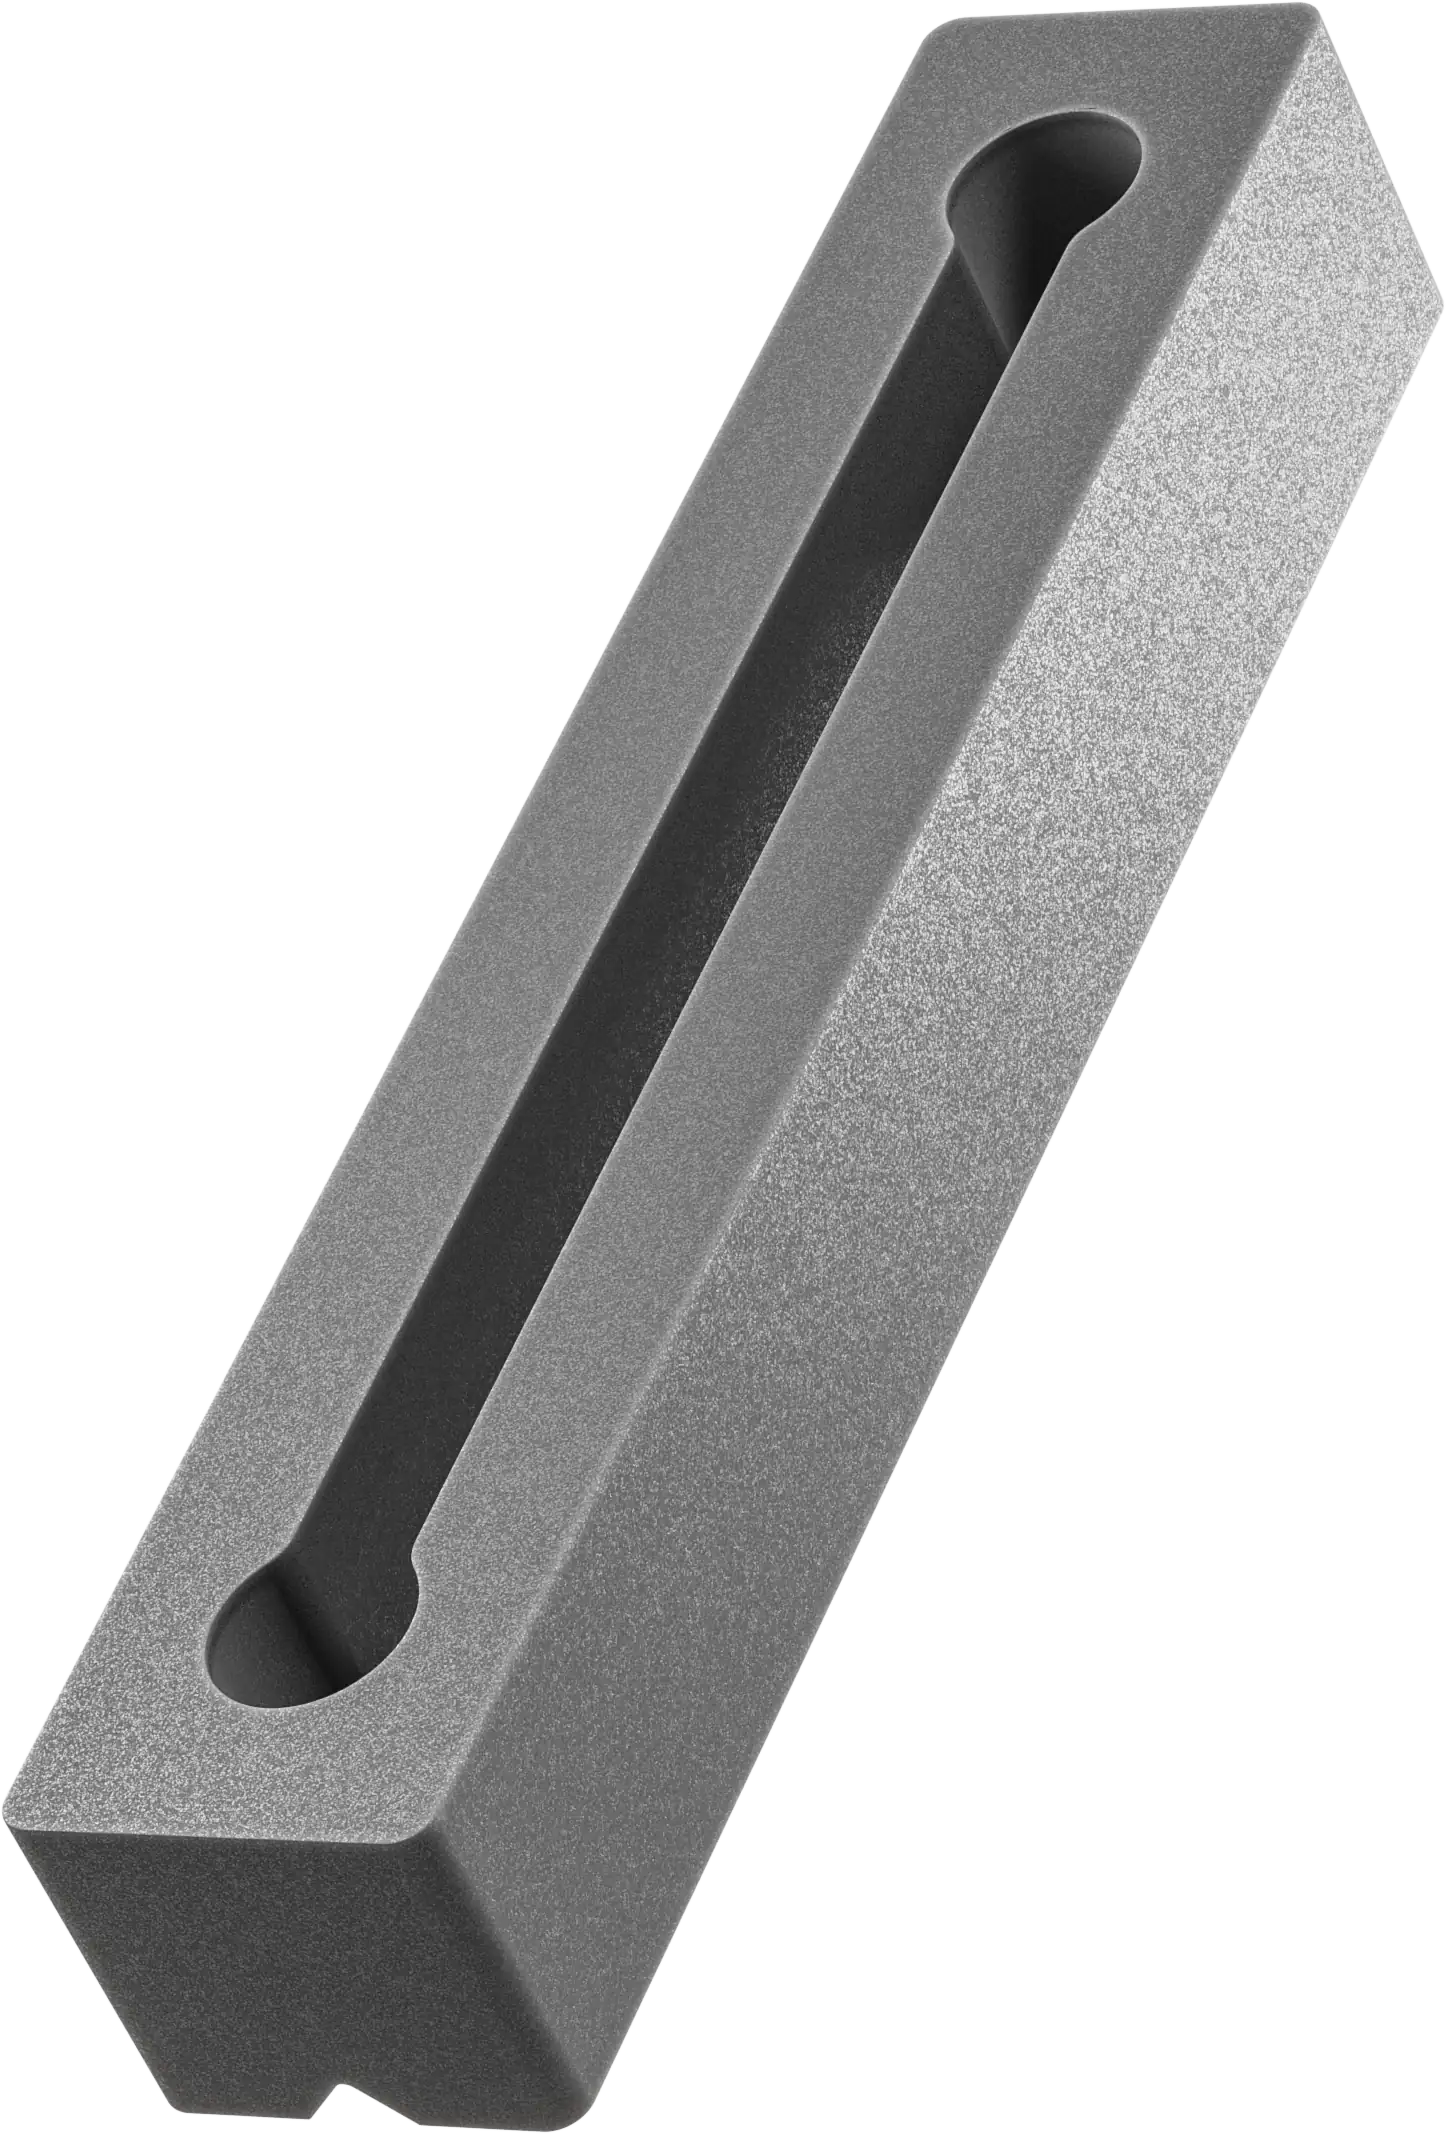
Three jobs at
the fixing point.
The moulded spacer establishes the separation. The cavity provides room for drainage and air movement. Compressed butyl helps seal the membrane penetration. Three useful functions brought together at the fixing point.
NCC 2025 / ON-SITE CAVITY DETAILING
Build the cavity.
Keep the seal with it.
A clear cavity detail gives your crew a repeatable job at each fixing point. PB30’s 30 mm separation, short 190 mm format and integrated butyl backing bring positioning and penetration sealing into one component.
Mark the spacer locations, maintain the planned drainage exits and air path, then inspect the membrane and fixings before the covering goes on. Our NCC 2025 guide connects the new cavity provisions with that practical site sequence.
ON-SITE PRIORITIES
01
Position without cutting lengths
190 mm modules are easy to carry and place at specified locations. Avoid cutting a long counter-batten into these spacer pieces.
02
Keep the seal with the spacer
Integrated butyl backing places sealing material beneath every spacer. Support-batten pressure compresses it to help seal around the membrane fixing penetration.
03
Make the detail easy to inspect
A consistent spacer detail makes it easier to review positioning, fixings and the moisture route while the work is visible. Build inspection into the sequence before covering.
Make moisture management
easier to build.
PB30 brings consistent separation and integrated fixing-point sealing to your roof or wall detail. Its short, ready-to-position format helps you build the space for drainage and ventilation with less handling and cutting at each fixing point.
From box to fixing point
01
Peel
Remove the liner from the integrated butyl backing. Prepare the membrane surface to the specified requirements.
02
Stick
Press the butyl onto the membrane to hold the spacer ready for mechanical fixing.
03
Fix and seal
Secure PB30 through its round holes, then fix the support batten through the elongated slot into the underlying structure. Specified pressure compresses the butyl.
LOCAL AVAILABILITY
Find out when PB30 is available in your area.
Join our mailing list for local product availability updates, plus free articles and practical guides.
BUILD IN SPACE
Keep the detail connected.
Getting the best from PB30
Use PB30 with your approved layout, structural support battens, compatible membranes and specified mechanical fixings. Your project team can coordinate cavity openings, drainage and the adopted NCC and fire requirements for the building and climate. Product illustrations help explain the sequence; your project documents provide the construction detail.