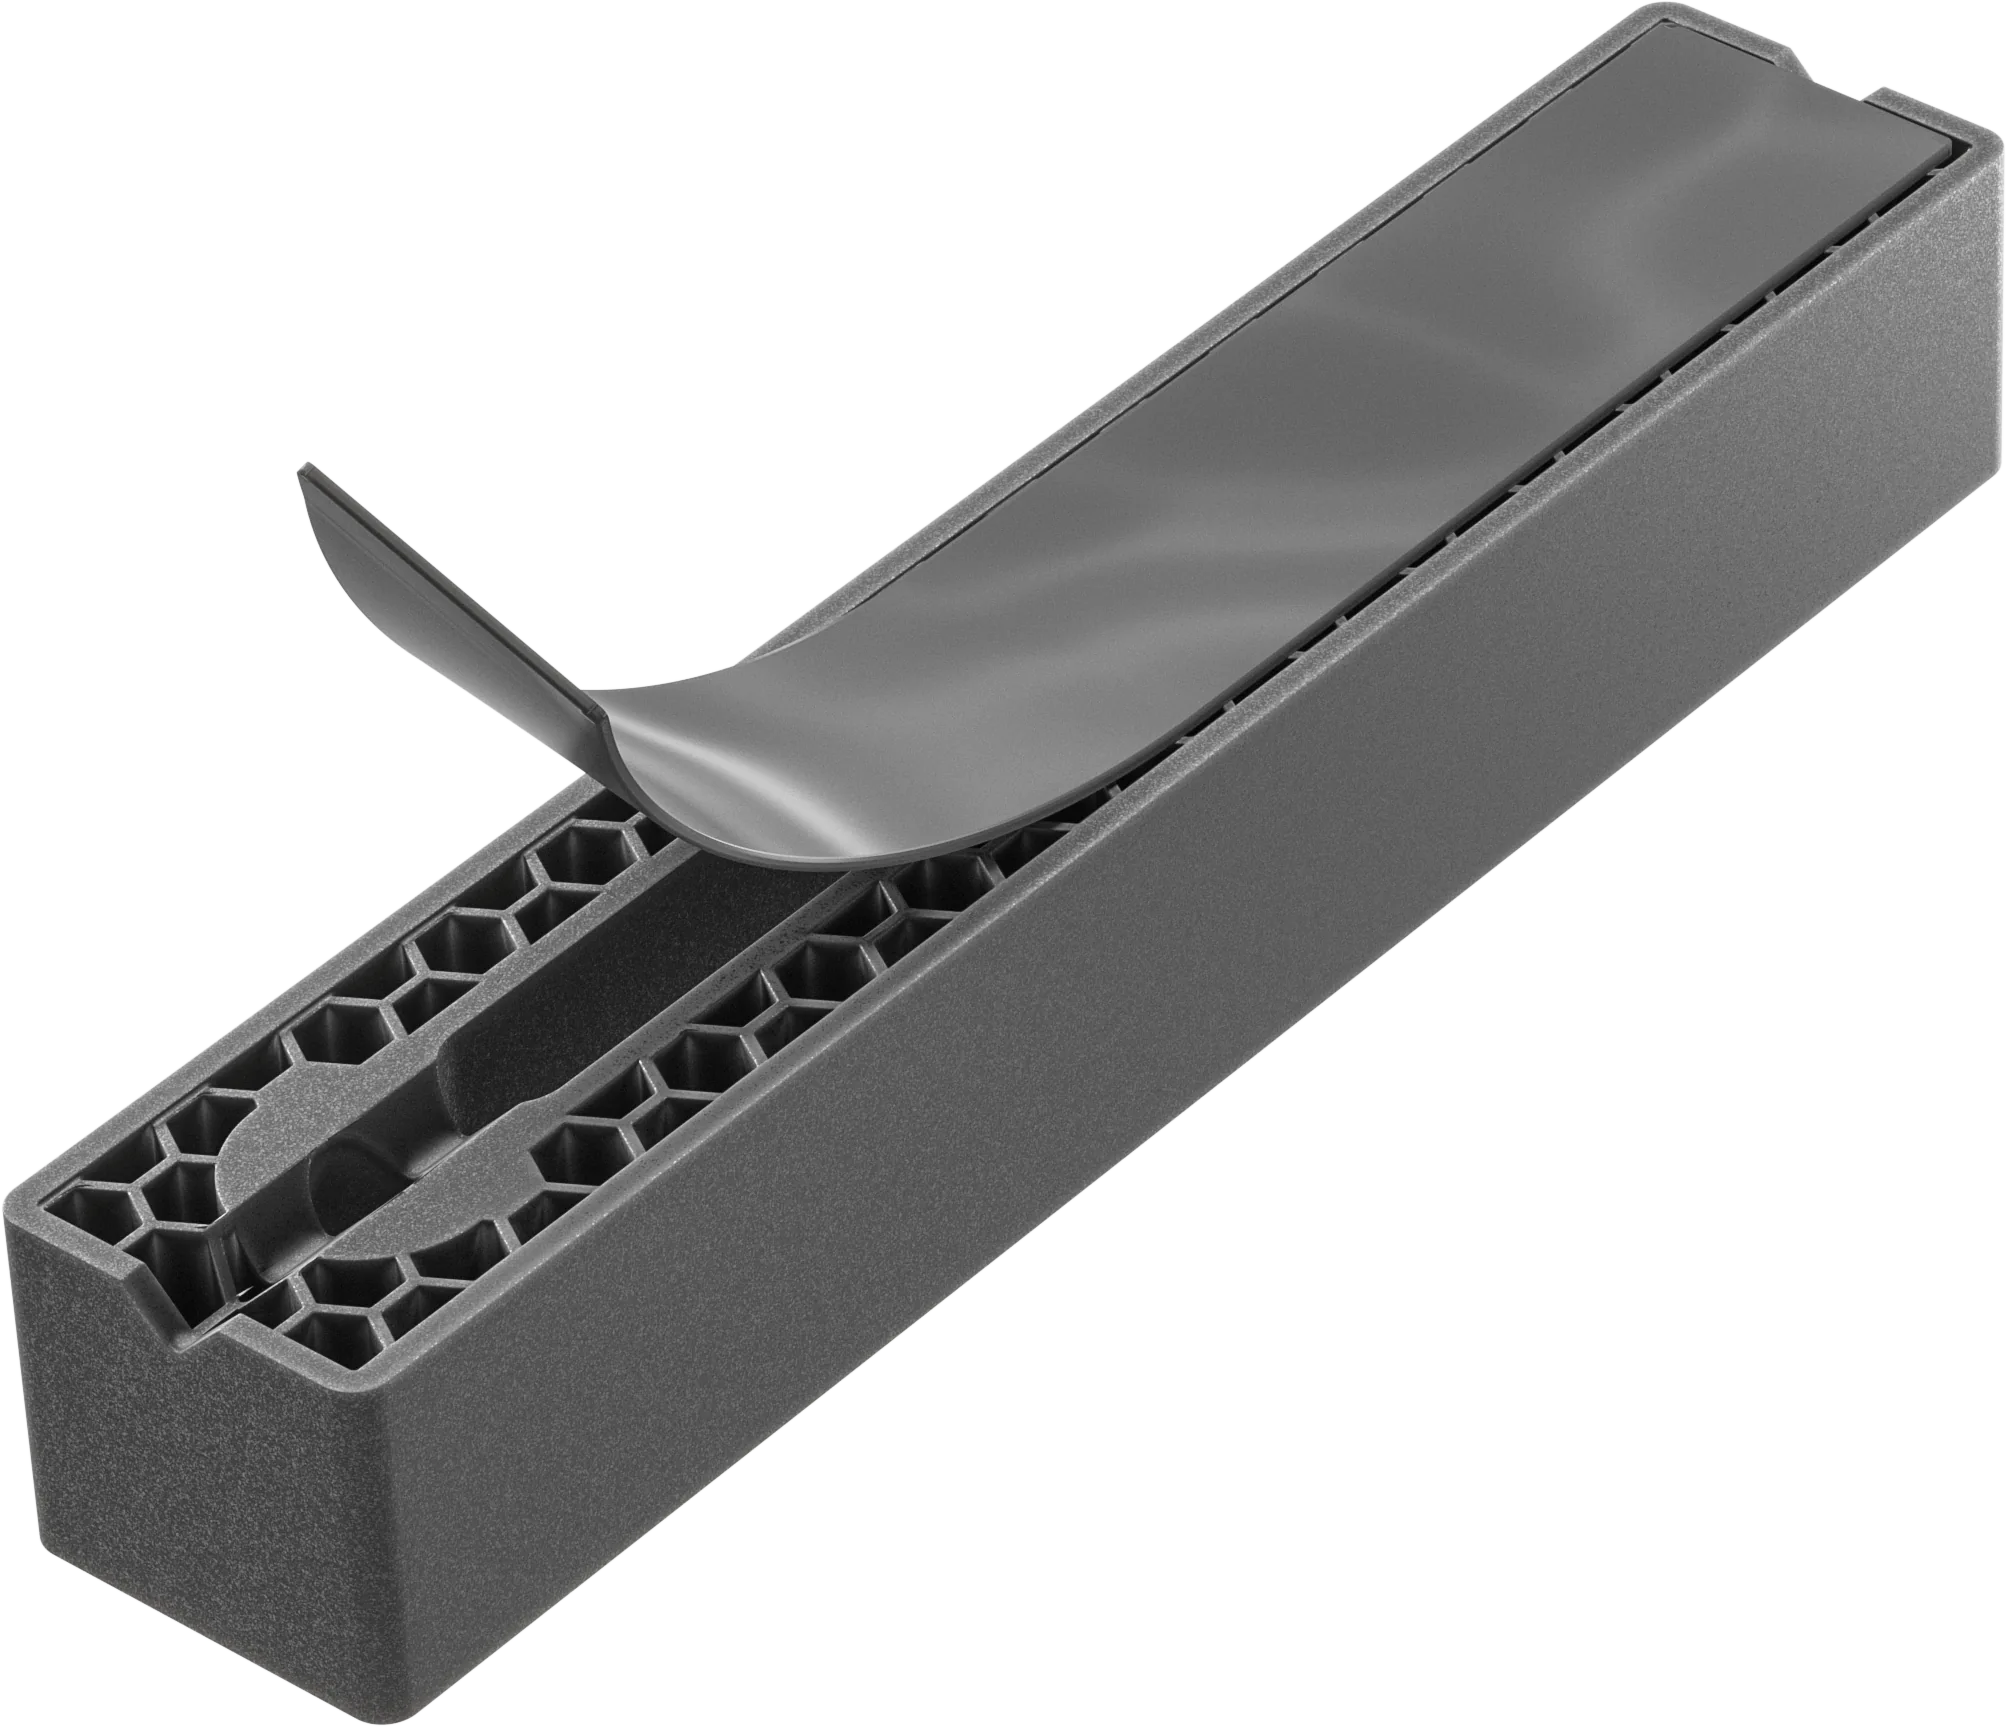
INSTALLATION / ROOF + WALL · PATENT PENDING
LESS CUTTING.
READY TO POSITION.
Position the cavity spacer and help seal the fixing penetration in one installation sequence. Short, ready-to-use modules keep handling straightforward at each fixing point.
INSTALLATION
PEEL. STICK. FIX + SEAL.
01
PEEL
Peel the release liner from the butyl backing to expose the adhesive. Keep the batten ready to position with the butyl facing the membrane.
02
STICK
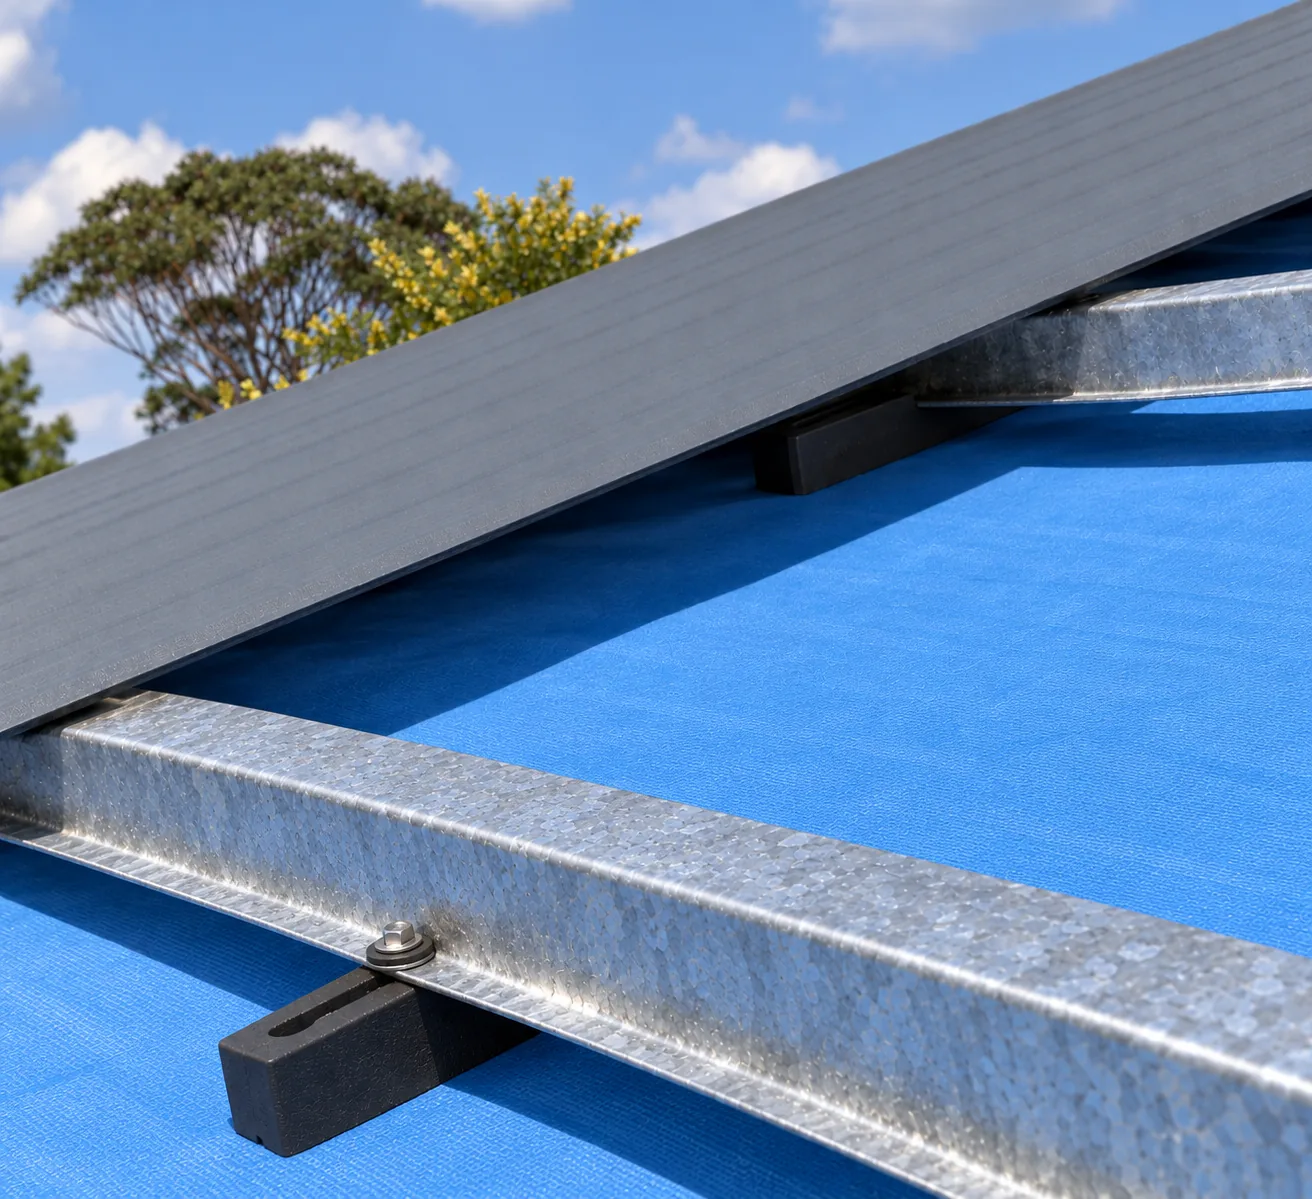
Position the Performance Batten on the membrane at the fixing location. Press the exposed butyl backing onto the membrane to hold the spacer in place.
03
FIX + SEAL
Fix the spacer through the round holes, then fasten the support batten through the elongated slot into the underlying structure. Batten pressure compresses the butyl to help seal the penetration.
SUPPORT THE COVERING.
CREATE THE SPACE.
PB30 sits beneath the roof or cladding support batten. Secure each spacer through its round holes, then fasten the support batten through the elongated slot into the underlying structure.
A CLEAR DETAIL. A SMOOTH INSTALLATION.
Use the installation layout to position each spacer, align the support battens and organise the specified fixings before work starts.
Keep the membrane, cavity openings and drainage exits visible as you work, so the finished detail is easy to inspect.
PERFORMANCE BATTENS
Build the cavity.
Protect the detail.
Bring cavity separation and fixing-point sealing together in your roof or wall detail.
190 × 35 × 30 mm · Polypropylene · Butyl backed · 100 per box · Patent pending
Getting the best from PB30
Follow your approved layout for spacer locations, structural supports, fixing type and length, tightening and membrane preparation. Confirm butyl compatibility and installation conditions with the relevant suppliers. Coordinate drainage, ventilation and the adopted NCC and fire requirements through your project team.