FOR BUILDING DESIGNERS / PRACTICAL DETAILING
Connect the drawing.
With the build.
Translate roof and wall moisture-control principles into clear sections, junction details and installation notes with PB30 cavity spacers.
Make each layer
do a clear job.
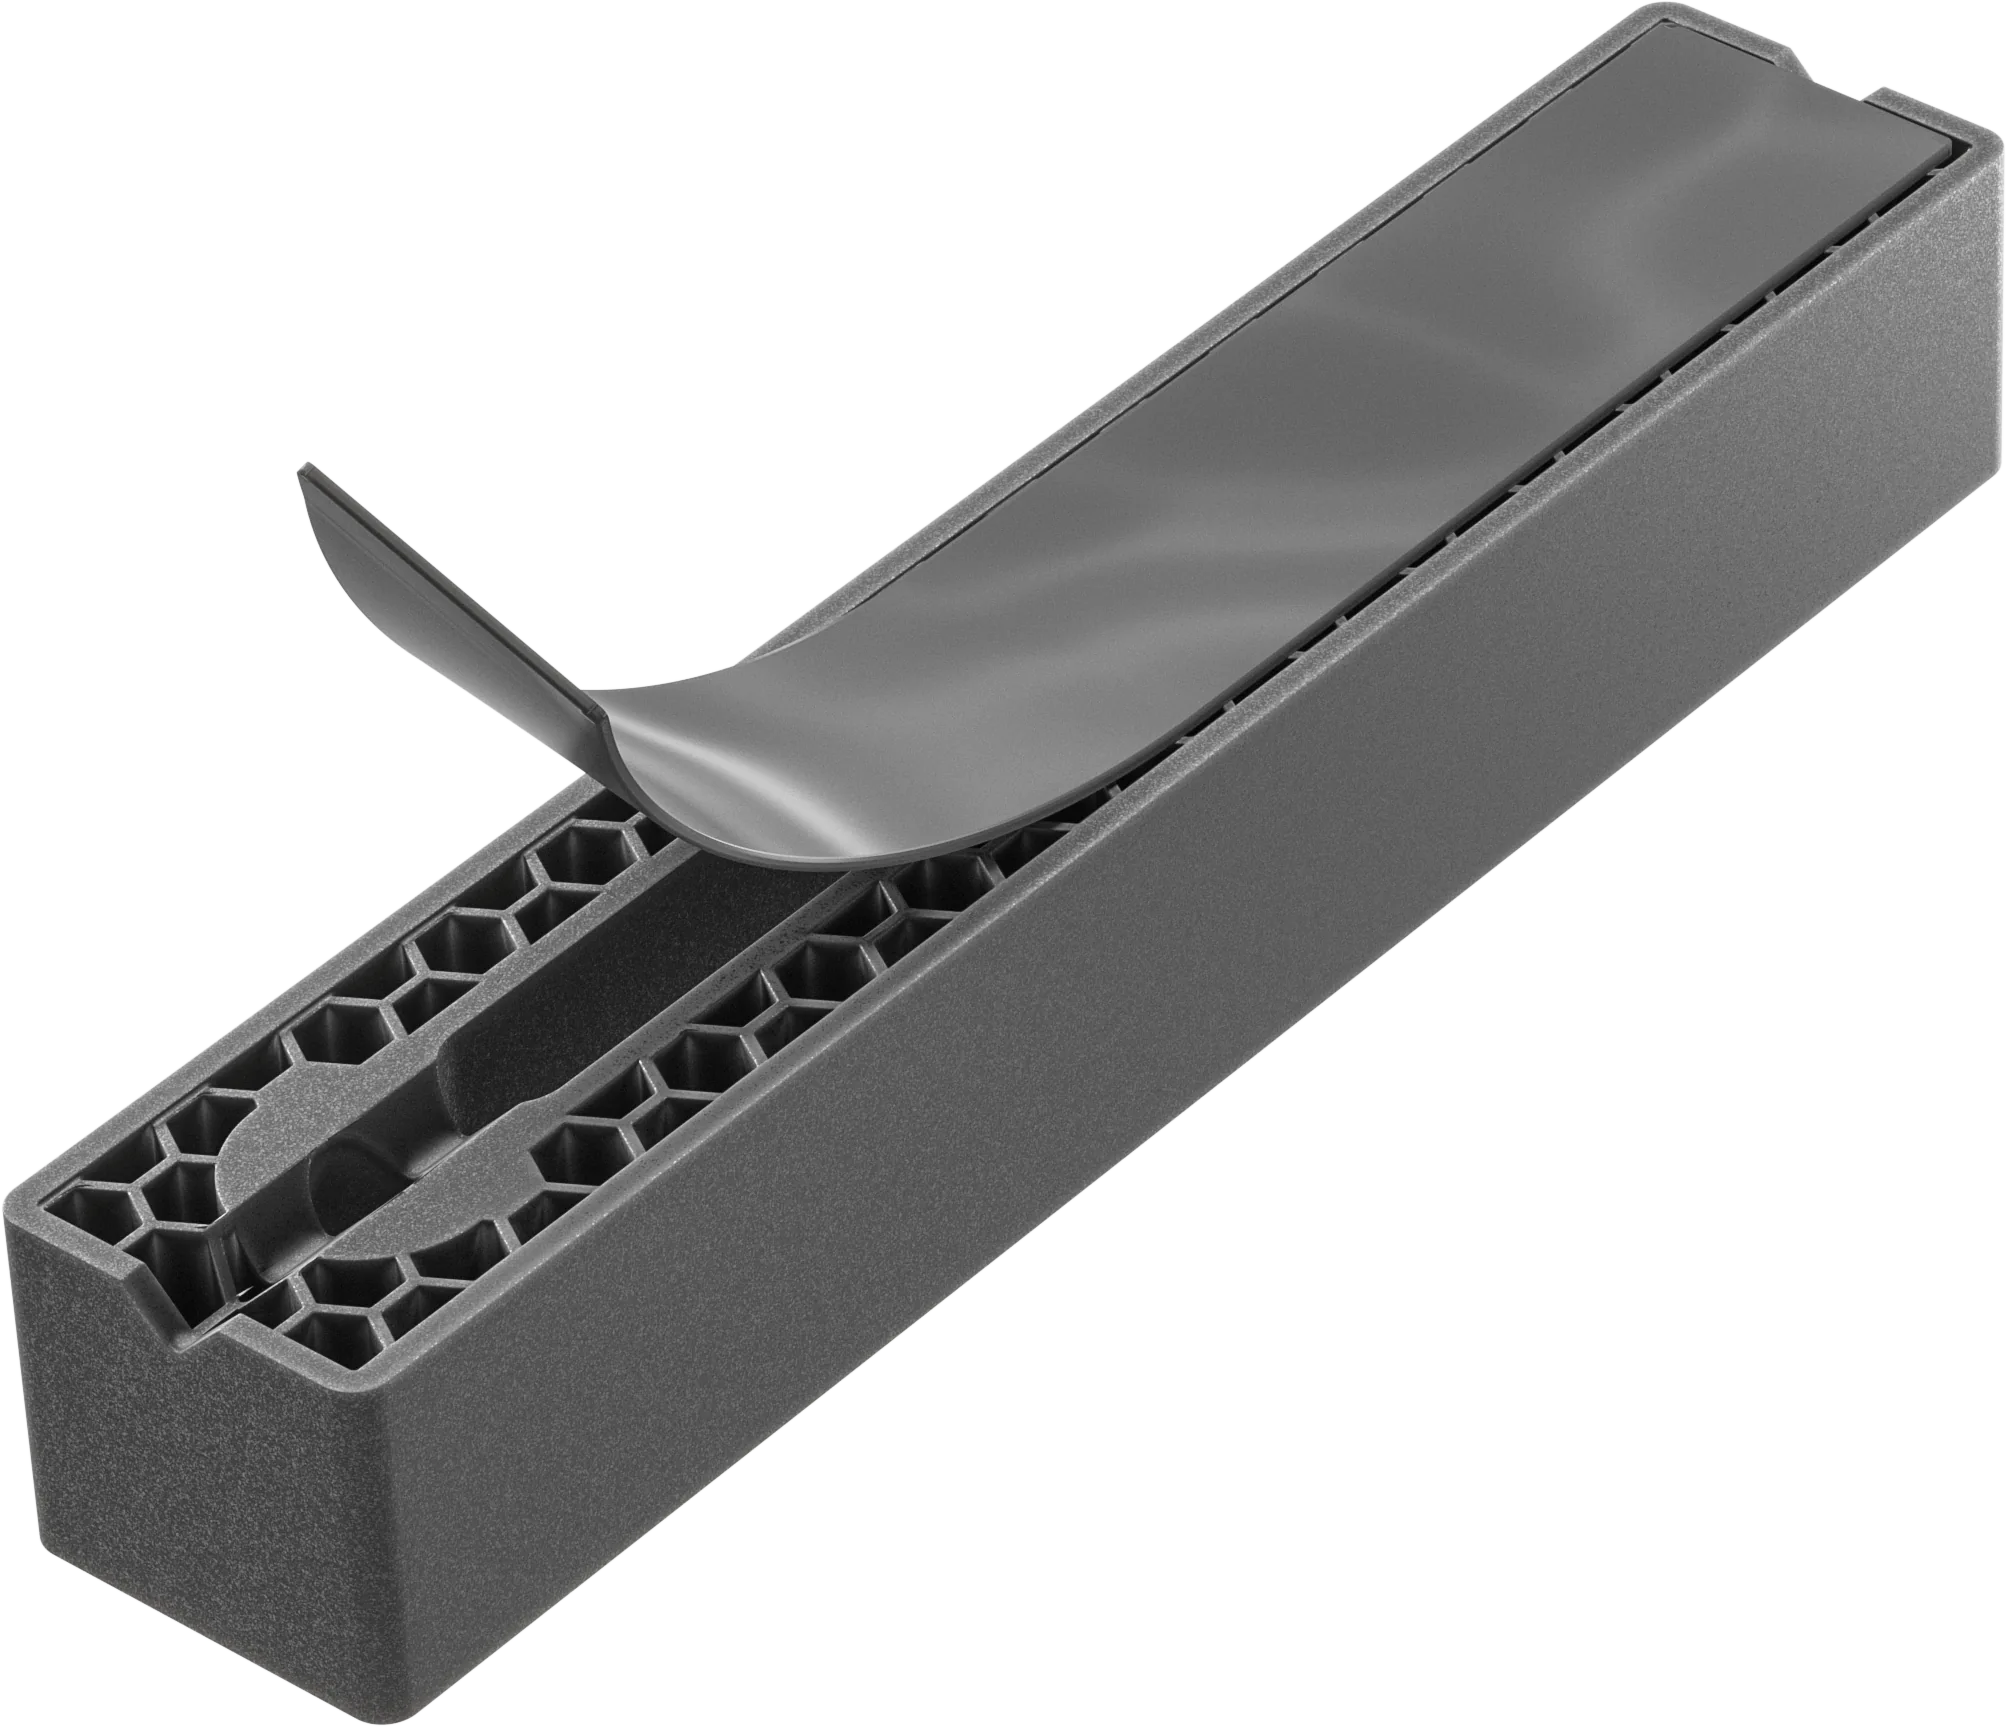
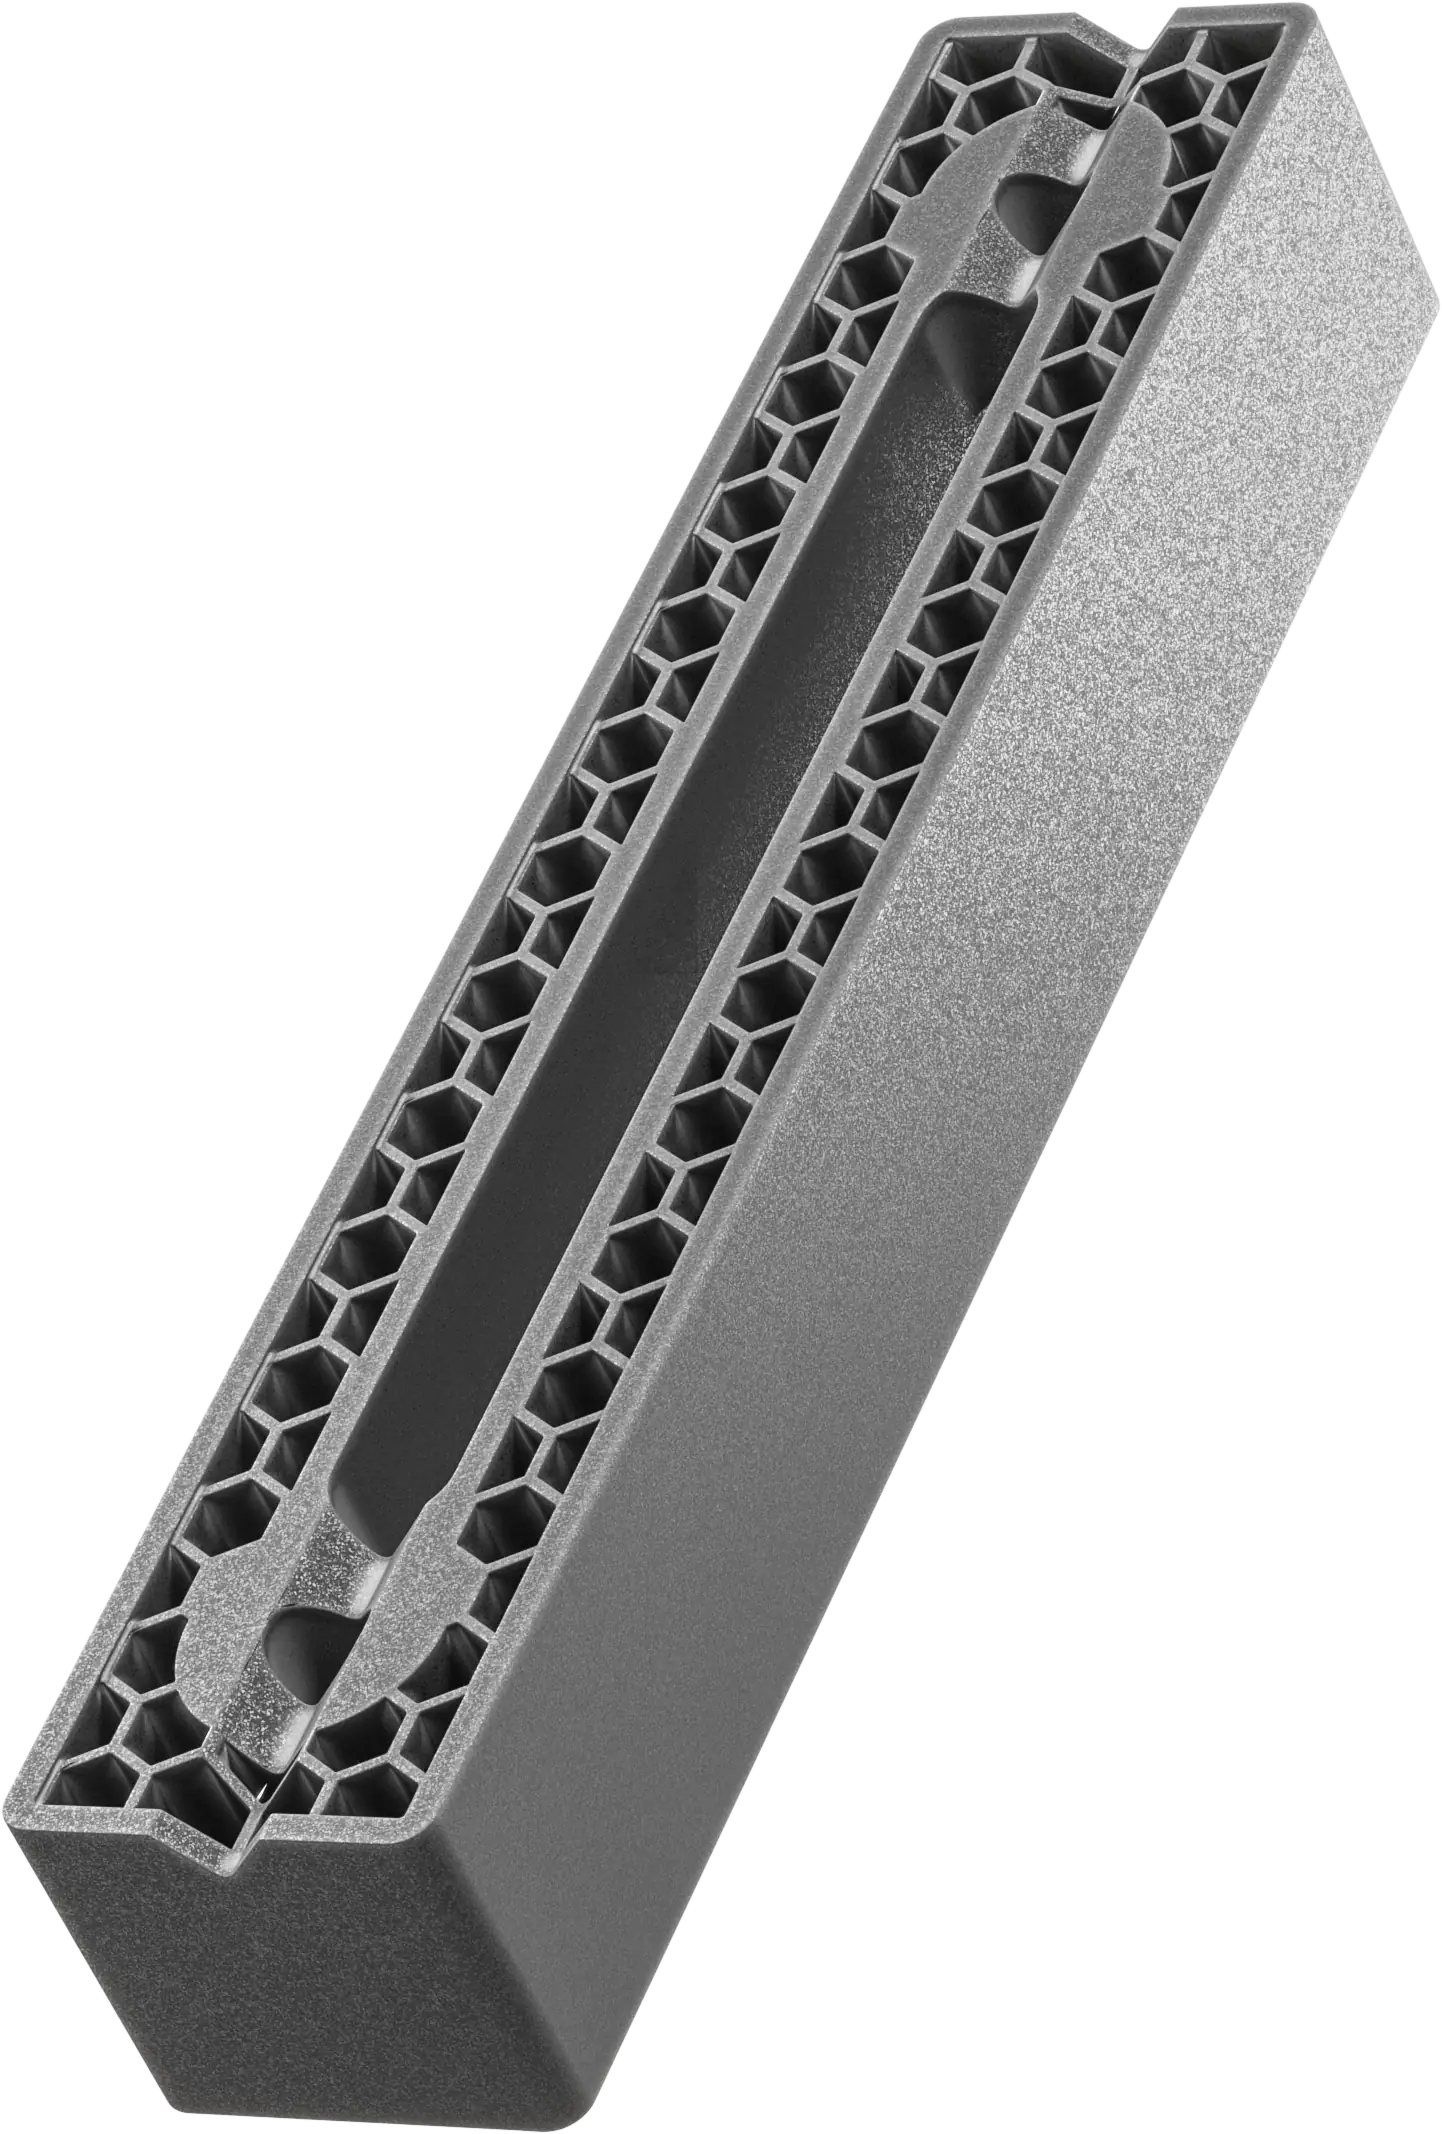
Show the membrane, insulation, PB30 spacer and support battens in a clear relationship. The defined 30 mm spacer height makes separation easy to draw, while coordinated sections show where water drains and air enters and exits.
01
Coordinate sections and junctions
Carry the cavity through eaves, openings, corners and roof transitions. Connect sections and plans so the intended route is clear to everyone building the detail.
02
Turn intent into site notes
Describe spacer locations, support battens, fixings, membrane preparation and inspection points. A clear installation sequence helps translate design intent into consistent work on site.
03
Connect the detail to NCC design
Use PB30’s defined dimensions and integrated sealing to develop a buildable separation detail within the project’s condensation-management strategy.
Give the site team
a detail they can follow.
Bring the cavity route, support arrangement and membrane junctions together on the drawings. Clear drainage terminations and opening details make the intended moisture path easier to build and inspect before covering.
LOCAL AVAILABILITY
Find out when PB30 is available in your area.
Join our mailing list for local product availability updates, plus free articles and practical guides.
BUILD IN SPACE
Keep the detail connected.
Getting the best from PB30
Develop the detail with your structural designer, roof or cladding supplier and membrane supplier. Coordinate fixings, membrane compatibility, drainage and opening areas with the adopted NCC and any relevant fire, bushfire or termite requirements. Use the approved project drawings and product information for construction.